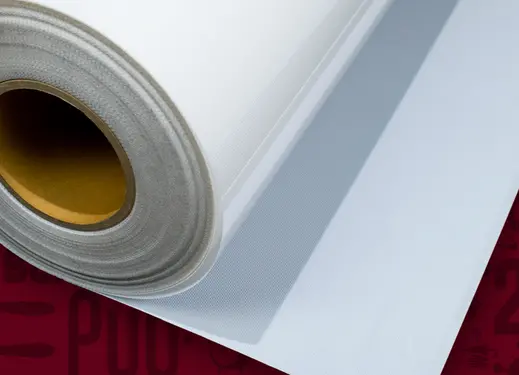
Click image to view larger

Magic Mask® - High Tack
One mask. Multiple uses.
- Aggressive, high tack
- Perfect as a carrier for thicker fabrics, like Poly-TWILL™ & CAD-COLOR® Glitter
- High tack helps masking of detailed print/cut designs
- Great as a backing for store-bought fabric for use with your vinyl cutter or flatbed cutter
- $7.50 Flat Rate Ground Shipping to most areas. Certain exclusions apply.
- Safety: CPSIA Certified
Order Now
Details
Tips/Features
Open this ordering wizard full window
Overview
- Aggressive, high tack
- Perfect as a carrier for thicker fabrics, like Poly-TWILL™ & CAD-COLOR® Glitter
- High tack helps masking of detailed print/cut designs
- Great as a backing for store-bought fabric for use with your vinyl cutter or flatbed cutter
- $7.50 Flat Rate Ground Shipping to most areas. Certain exclusions apply.
- Safety: CPSIA Certified
Masking Process for Printable Heat Transfer Material
Step 1: Remove mask from liner.
Step 2: Position mask over weeded design. Use a squeegee to eliminate air bubbles.
Step 3: Remove design from carrier by pulling at a 90 degree angle.
Step 4: Place masked design back on liner until ready to heat apply.
Tip: Save the protective mask liner sheet to cover and protect cut design.
Step 2: Position mask over weeded design. Use a squeegee to eliminate air bubbles.
Step 3: Remove design from carrier by pulling at a 90 degree angle.
Step 4: Place masked design back on liner until ready to heat apply.
Tip: Save the protective mask liner sheet to cover and protect cut design.
Masking Process for Fabric
Step 1: Cut fabric to fit mask.
Step 2: Lay fabric, adhesive side up, on flat surface.
Step 3: Remove protective sheet liner from mask. The liner is a thin sheet of plastic that covers the adhesive side of the mask.
Step 4: Lay mask out onto fabric, adhesive side to adhesive side.
Step 5: Feed into flatbed or vinyl cutter.
Step 6: Set cutting specs on your cutter.
Step 7: Cut design in "Positive Mode" - do not mirror image.
Step 8: When ready for use, remove graphic from mask and lay out for digitizing or sewing.
Tip: High Tack Magic Mask is reusable for approximately 10-15 uses. Simply remove unused fabric from the mask, lay down a new piece of fabric, and repeat steps 4-8.

