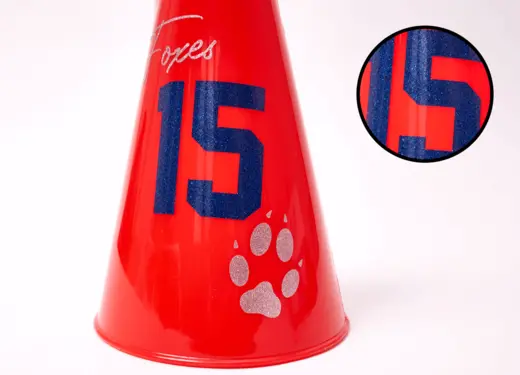
CAD-CUT® Permanent P.S. Sign Vinyl
Application Instructions
Step 1: Place vinyl with the liner side down into cutter and cut your design.
(DO NOT reverse/mirror your design.) Weed away excess vinyl.
(DO NOT reverse/mirror your design.) Weed away excess vinyl.
Step 2: Mask your design using ORATAPE mask, making sure to smooth out any bubbles with a plastic squeegee.
Step 3: Remove masked graphic from liner and stick to center of application surface. Using firm and even pressure, squeegee the graphic from the center outward, past the edges of the design.
Step 4: Starting in a corner, peel back the ORATAPE at a 180° angle while pressing the tape against the graphic with your hand.
Step 5: Feel for any edges, bubbles, creases, or parts of the graphic that are not flat. Press down firmly with your hand and work out the problem area until the graphic is completely smooth.


