Internet Explorer is no longer supported. We recommend upgrading to Chrome, Firefox, Safari, or Microsoft Edge browser.
This website uses cookies.
By continuing to browse, you accept our use of cookies as explained in our Privacy Policy.
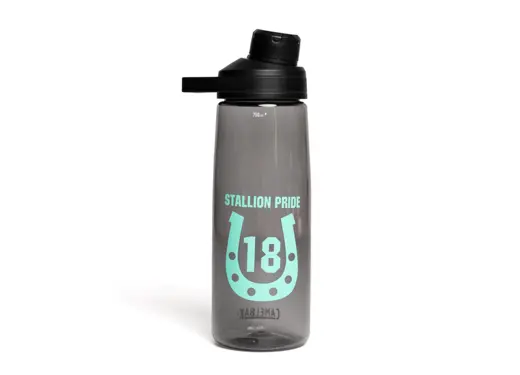
https://assets.stahls.com/stahls/content/images/products/ps-sign-vinyl-prod-image-01_small.webp

CAD-CUT® Permanent P.S. Sign Vinyl

Durable pressure sensitive adhesive vinyl

Use your vinyl cutter to create decals, point-of-purchase displays, banners, signs and designs for hard goods with this easy-to-use, calendered pressure-sensitive vinyl. This is a cost-effective way to create 1 and 2-color decals and signs.
Note: This media is not for digital printing.
  • Available in over 30 colors
  • Easy to cut and apply
  • Recommended for general purpose permanent application: posters, show cards, banners, window graphics, hard goods
  • For indoor/outdoor use. Durable up to three years of outdoor life
  • Not recommended for use with microwave or dishwasher or near heat/flame source
  • Squeegee and Pre-Mask Tape or ORATAPE Patterns mask recommended for application
Order Now

Open this ordering wizard full window

Details

Overview

Use your vinyl cutter to create decals, point-of-purchase displays, banners, signs and designs for hard goods with this easy-to-use, calendered pressure-sensitive vinyl. This is a cost-effective way to create 1 and 2-color decals and signs.
Note: This media is not for digital printing.

Details

  • Available in over 30 colors
  • Easy to cut and apply
  • Recommended for general purpose permanent application: posters, show cards, banners, window graphics, hard goods
  • For indoor/outdoor use. Durable up to three years of outdoor life
  • Not recommended for use with microwave or dishwasher or near heat/flame source
  • Squeegee and Pre-Mask Tape or ORATAPE Patterns mask recommended for application
User Guide

CAD-CUT® Permanent P.S. Sign Vinyl

Application Instructions

Step 1: Place vinyl with the liner side down into cutter and cut your design.
(DO NOT reverse/mirror your design.) Weed away excess vinyl.
Step 2: Mask your design using ORATAPE mask, making sure to smooth out any bubbles with a plastic squeegee.
Step 3: Remove masked graphic from liner and stick to center of application surface. Using firm and even pressure, squeegee the graphic from the center outward, past the edges of the design.
Step 4: Starting in a corner, peel back the ORATAPE at a 180° angle while pressing the tape against the graphic with your hand.
Step 5: Feel for any edges, bubbles, creases, or parts of the graphic that are not flat. Press down firmly with your hand and work out the problem area until the graphic is completely smooth.

Cutter Instructions

Cutter
Blade
Force
Offset
Speed
Graphtec
45°
12
1
25 cm/s
Roland GS-24
45° / 60°
70
0.225
25 cm/s
Silhouette Cameo
Autoblade
10
N/A
8
Note: Cut the design in the positive (facing up). You should always test cut prior to any production run. For optimal cutting and weeding, maintain a line thickness of at least 1/8" for logos.